Fence for the Cows

And here is the second B&W HDR shot taken on the way down from Dolly Sods. Dolly Sods Wilderness occupies the lower half of the drainage of the north fork of Red Creek. Red Creek begins on the high plateau of Allegheny Mountain, a flat, poorly drained area. As the stream crosses into what is now wilderness, it begins to cut down through the plateau, creating a steep-sided canyon. As it leaves the wilderness, it joins with the south fork of Red Creek and continues on to the Dry Fork River. Because of this, the northern section of the wilderness is high-elevation plateau, wind-swept and boggy. Patches of native red spruce, alder, maple, and mountain ash mingle with plantations of pine, upland heath, and sphagnum bogs. The area is generally open, with wide-spreading vistas. Huckleberries and cranberries are common in the heath and bog areas. As Red Creek and its tributaries, Big Stonecoal and Little Stonecoal Runs, leave the plateau; they become more forested, with a number of hardwood trees including maple, birch, and black cherry.


Blackwater Falls

This is my first B&W HDR shot taken at Blackwater Falls, WV. It was three composite exposures taken at 1.0 apart.

Trees on top of Bear Rocks

Lake Swing by Deep Creek Lake

iPhone from Top of Rocks in Hopeville, WV

First HDR Photos


Deep Creek Lake Shoreline

Vanity!


008_0044.JPG, originally uploaded by uberlinn.

New Sink Hardware


008_0043.JPG, originally uploaded by uberlinn.

Ella hard at work


008_0042.JPG, originally uploaded by uberlinn.

This is ella looking like the wicked witch of the west

Installing the toilet


008_0038.JPG, originally uploaded by uberlinn.

It seemed to be the best way to install the toilet at the time....now the picture just looks ridiculous

Moving crew


008_0034.JPG, originally uploaded by uberlinn.

This is the crew that helped us move the vanity, all 310 pounds of it.

Andy working on the baseboard


008_0032.JPG, originally uploaded by uberlinn.

This was about hour 10 of a 12 hour day working on the bathroom

More shower hardware


008_0029.JPG, originally uploaded by uberlinn.

Shower Hardware


008_0026.JPG, originally uploaded by uberlinn.

Mary the Painter


008_0025.JPG, originally uploaded by uberlinn.

Mary came over and helped us out for the day with painting, priming, and a do-er of all things!

Painting the closet


008_0023.JPG, originally uploaded by uberlinn.

Finished installing the Shower Hardware


008_0020.JPG, originally uploaded by uberlinn.

What happens to our bedroom when we finish


008_0017.JPG, originally uploaded by uberlinn.

Installing the Baseboard


008_0014.JPG, originally uploaded by uberlinn.

Yay! New Closet


008_0013.JPG, originally uploaded by uberlinn.

Starting to Paint


008_0008.JPG, originally uploaded by uberlinn.

Tiling looking out of the bathroom


008_0214, originally uploaded by uberlinn.

Here is the floor looking the other way

Shower Pan


008_0213, originally uploaded by uberlinn.

Here is the tile on the shower floor as well as part of the vanity area

More of the floor


008_0212, originally uploaded by uberlinn.

TIles finally up on the foor!!

Full Set of Tiles


008_0210, originally uploaded by uberlinn.

This is the state of the tiles after Saturday's work

New Shelves


008_0207, originally uploaded by uberlinn.

Note the mitre cuts that the miter saw was used for...Thanks Mike!

First set of tiles set into thin-set


008_0206, originally uploaded by uberlinn.

New Mud Pan


008_0205, originally uploaded by uberlinn.

Due to the sloping of our sub-floor, the mud pan had to be removed and completely re-done....Yay!!

Beginning of the Tiling


008_0201, originally uploaded by uberlinn.

Here is the first set of tiles on the ground

Little prisoner


008_0200, originally uploaded by uberlinn.

Our little dog looks something like a prisoner!

Finally the wall is up!!!


008_0197, originally uploaded by uberlinn.

This is the first set of drywall that we have up and done!!! Tiling starts tomorrow!

Worst Job of the Bathroom


008_0193, originally uploaded by uberlinn.

So far, this is the end of the worst job we had to do for the bathroom, that was driving the screws through the cement board...ugh

Yay Overalls


008_0192, originally uploaded by uberlinn.

Here we are after a long Saturday of work!

New Light fixtures


008_0189, originally uploaded by uberlinn.

Here is the new light fixture we put up in the ceiling.

First Wall to go up in the bathroom


008_0186, originally uploaded by uberlinn.

This is the first Drywall to go up in the bathroom, you can see the insets in the background

Putting up the shower walls

Okay so Thanksgiving weekend was incredibly productive for Little Tiger, Ella, and I.

We were able to get the plumbing done for the shower and Toilet, as well as putting up the cement board for the shower area, and the mortar base for the shower.

Shower Front Wall
From Bathroom Renovations


Little Tiger helping find the tools Andy lost

From Bathroom Renovations


Andy Working on the last piece of Cement board

From Bathroom Renovations


From Bathroom Renovations


LT cleaning up
From Bathroom Renovations


The beginnings of mixing the 400 lbs of mortar

From Bathroom Renovations


Finishing the last bits of mortar base in the shower
From Bathroom Renovations

New Drain Day!!

Ok, so today was a great day of really beginning the construction of the new floor and framing the new STRAIGHT walls. When we began the day the room looks like this
From Bathroom Demolition


You can see the drain trap in the middle of the floor, as well as the remains of the jacuzzi tub electrical wire that was previously run UNDER the tub...I don't know all the remodeling code, but I know that electric and water don't get along too well. Then we started cutting the wood downstairs.

From Bathroom Demolition


Little Tiger was realizing that the workbench was a little too tall for her, so she employed the step stool to get a better handle on things...

From Bathroom Demolition


And to avoid any and all future brain damage, Little Tiger went ahead and purchased a hard hat for big andy

From Bathroom Demolition


Now the bathroom looks like this with new flooring and walls newly framed...

From Bathroom Demolition


Until next time

Moving PVC piping and a surprise

So today we get to have the PVC piping moved and try to get to a point where we will be ready to put in the new shower hardware. The PVC piping handles our draining and vent stacks. One of the more difficult parts of this portion of the project was simply trying to remember what the hell pieces to buy at the store. This was compounded by the fact I forgot to write down the pieces I needed before heading to my favorite Big Box store.

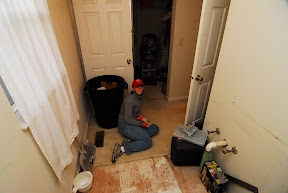
Aside from the fact that I forgot to hook the drain from the other bathroom upstairs before taking a shower the PVC went reasonable well. We are still a little skeptical of how well those joints will stay, but in 24 hours we will know a little more. As we were getting these PVS pieces set up, we decided to go ahead and cut out the previous shower that was in place.

Once we cut out the old shower we discovered that the shut off valves didn't work at the base of the shower. We expected to see this as the valves had been in the on position for so long. In order to get these valves replaced, we had to shut off the main house water. Once we did this, we discovered that the main house water was completely killing the water flow. As this presents some troubling results, we really didn't know how to deal with this and the soldering. When we first started the soldering, we realized that the continuing water flow wouldn't let us keep tight seals.

Trips to Lowes/Sears today: 4
Trips to Lowes/Sears Total: 9

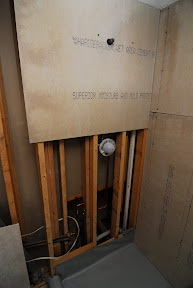
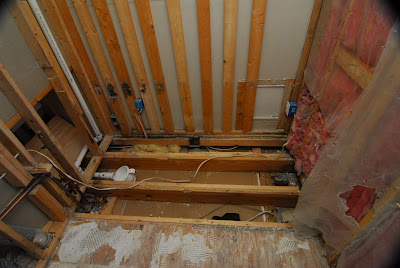
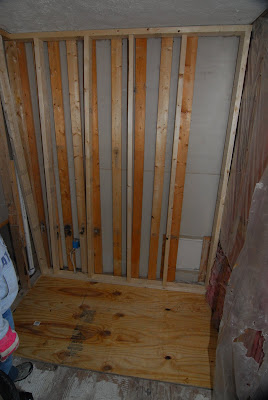
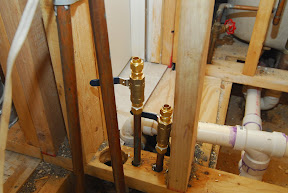
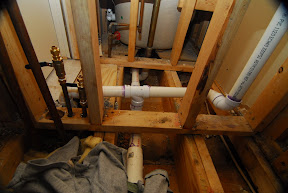
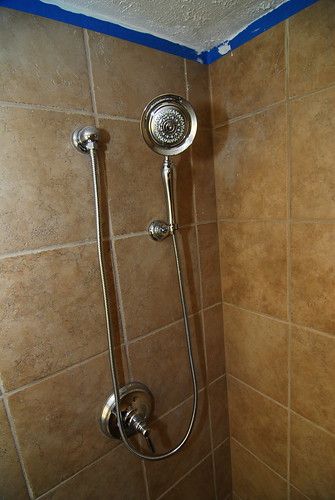
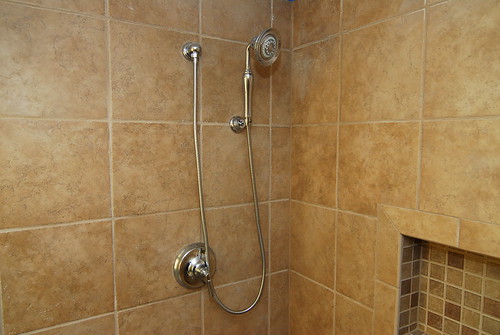
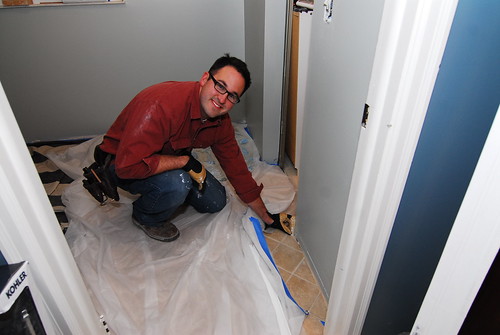
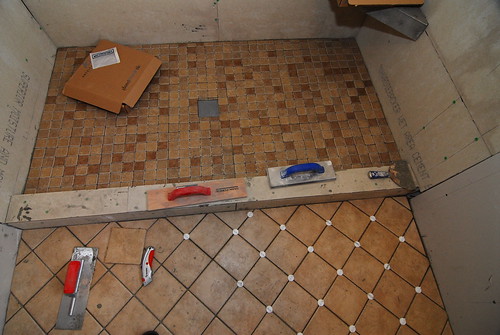
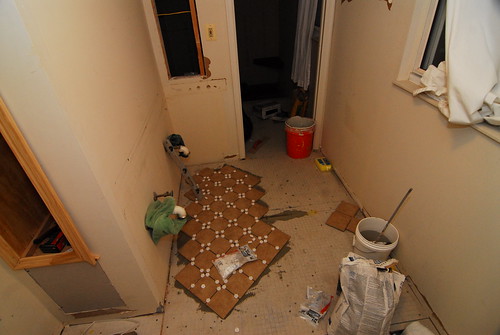
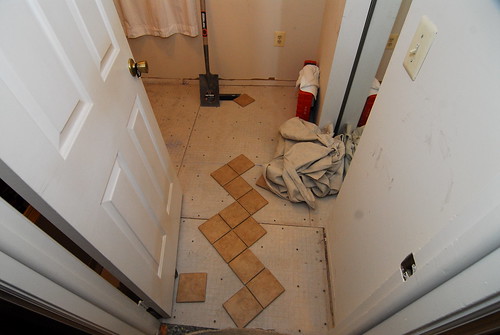
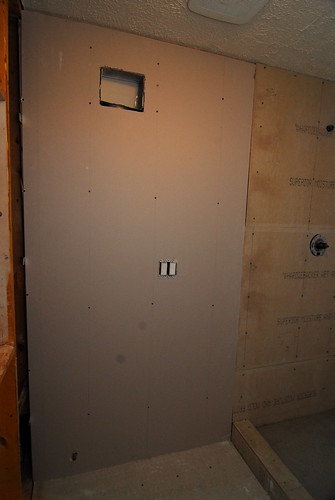
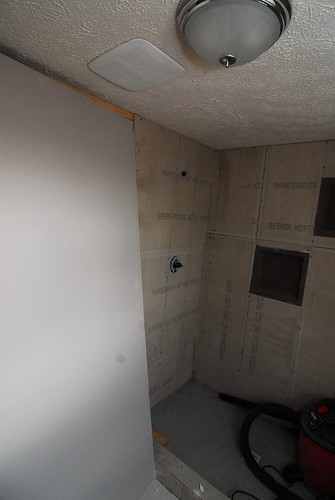
Current look of the new plumbing
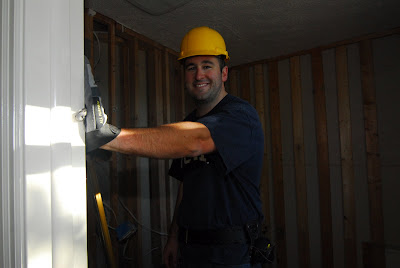
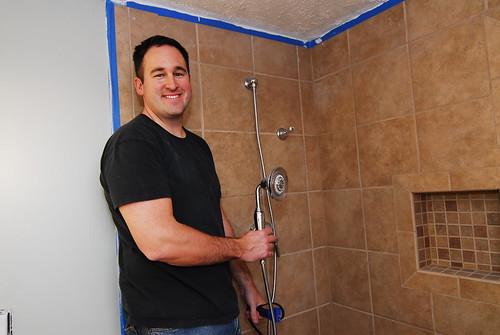
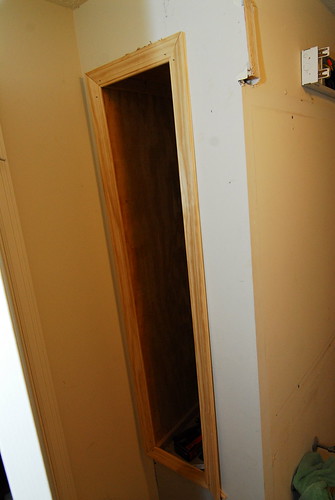
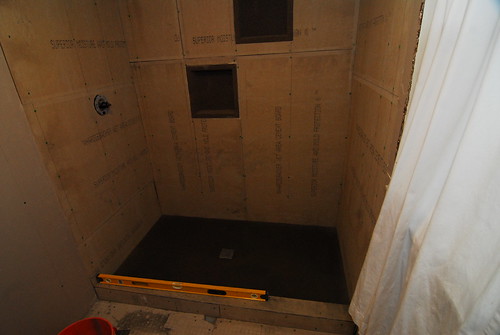
Woo Hoo New Valves:
From Bathroom Demolition


Woo Hoo New PVC:
From Bathroom Demolition