


Installing the toilet

It seemed to be the best way to install the toilet at the time....now the picture just looks ridiculous


Mary the Painter

Mary came over and helped us out for the day with painting, priming, and a do-er of all things!


New Mud Pan

Due to the sloping of our sub-floor, the mud pan had to be removed and completely re-done....Yay!!


Finally the wall is up!!!

This is the first set of drywall that we have up and done!!! Tiling starts tomorrow!
Worst Job of the Bathroom

So far, this is the end of the worst job we had to do for the bathroom, that was driving the screws through the cement board...ugh


First Wall to go up in the bathroom

This is the first Drywall to go up in the bathroom, you can see the insets in the background
Putting up the shower walls
Okay so Thanksgiving weekend was incredibly productive for Little Tiger, Ella, and I.
We were able to get the plumbing done for the shower and Toilet, as well as putting up the cement board for the shower area, and the mortar base for the shower.
Shower Front Wall
Little Tiger helping find the tools Andy lost
Andy Working on the last piece of Cement board
LT cleaning up
The beginnings of mixing the 400 lbs of mortar
Finishing the last bits of mortar base in the shower
We were able to get the plumbing done for the shower and Toilet, as well as putting up the cement board for the shower area, and the mortar base for the shower.
Shower Front Wall
 |
| From Bathroom Renovations |
Little Tiger helping find the tools Andy lost
 |
| From Bathroom Renovations |
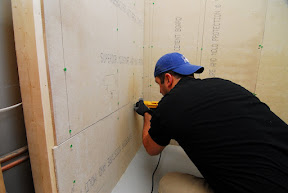
Andy Working on the last piece of Cement board
 |
| From Bathroom Renovations |
 |
| From Bathroom Renovations |
LT cleaning up
 |
| From Bathroom Renovations |
The beginnings of mixing the 400 lbs of mortar
 |
| From Bathroom Renovations |
Finishing the last bits of mortar base in the shower
 |
| From Bathroom Renovations |
New Drain Day!!
Ok, so today was a great day of really beginning the construction of the new floor and framing the new STRAIGHT walls. When we began the day the room looks like this
You can see the drain trap in the middle of the floor, as well as the remains of the jacuzzi tub electrical wire that was previously run UNDER the tub...I don't know all the remodeling code, but I know that electric and water don't get along too well. Then we started cutting the wood downstairs.
Little Tiger was realizing that the workbench was a little too tall for her, so she employed the step stool to get a better handle on things...
And to avoid any and all future brain damage, Little Tiger went ahead and purchased a hard hat for big andy
Now the bathroom looks like this with new flooring and walls newly framed...
Until next time
 |
| From Bathroom Demolition |
You can see the drain trap in the middle of the floor, as well as the remains of the jacuzzi tub electrical wire that was previously run UNDER the tub...I don't know all the remodeling code, but I know that electric and water don't get along too well. Then we started cutting the wood downstairs.
 |
| From Bathroom Demolition |
Little Tiger was realizing that the workbench was a little too tall for her, so she employed the step stool to get a better handle on things...
 |
| From Bathroom Demolition |
And to avoid any and all future brain damage, Little Tiger went ahead and purchased a hard hat for big andy
 |
| From Bathroom Demolition |
Now the bathroom looks like this with new flooring and walls newly framed...
 |
| From Bathroom Demolition |
Until next time
Moving PVC piping and a surprise
So today we get to have the PVC piping moved and try to get to a point where we will be ready to put in the new shower hardware. The PVC piping handles our draining and vent stacks. One of the more difficult parts of this portion of the project was simply trying to remember what the hell pieces to buy at the store. This was compounded by the fact I forgot to write down the pieces I needed before heading to my favorite Big Box store.
Aside from the fact that I forgot to hook the drain from the other bathroom upstairs before taking a shower the PVC went reasonable well. We are still a little skeptical of how well those joints will stay, but in 24 hours we will know a little more. As we were getting these PVS pieces set up, we decided to go ahead and cut out the previous shower that was in place.
Once we cut out the old shower we discovered that the shut off valves didn't work at the base of the shower. We expected to see this as the valves had been in the on position for so long. In order to get these valves replaced, we had to shut off the main house water. Once we did this, we discovered that the main house water was completely killing the water flow. As this presents some troubling results, we really didn't know how to deal with this and the soldering. When we first started the soldering, we realized that the continuing water flow wouldn't let us keep tight seals.
Trips to Lowes/Sears today: 4
Trips to Lowes/Sears Total: 9
Current look of the new plumbing
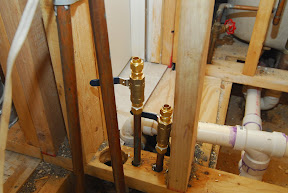
Woo Hoo New Valves:
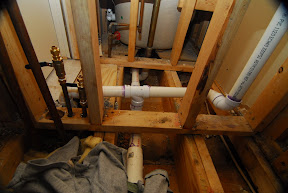
Woo Hoo New PVC:
Aside from the fact that I forgot to hook the drain from the other bathroom upstairs before taking a shower the PVC went reasonable well. We are still a little skeptical of how well those joints will stay, but in 24 hours we will know a little more. As we were getting these PVS pieces set up, we decided to go ahead and cut out the previous shower that was in place.
Once we cut out the old shower we discovered that the shut off valves didn't work at the base of the shower. We expected to see this as the valves had been in the on position for so long. In order to get these valves replaced, we had to shut off the main house water. Once we did this, we discovered that the main house water was completely killing the water flow. As this presents some troubling results, we really didn't know how to deal with this and the soldering. When we first started the soldering, we realized that the continuing water flow wouldn't let us keep tight seals.
Trips to Lowes/Sears today: 4
Trips to Lowes/Sears Total: 9
Current look of the new plumbing
Woo Hoo New Valves:
 |
| From Bathroom Demolition |
Woo Hoo New PVC:
 |
| From Bathroom Demolition |
Plumbing Begun!
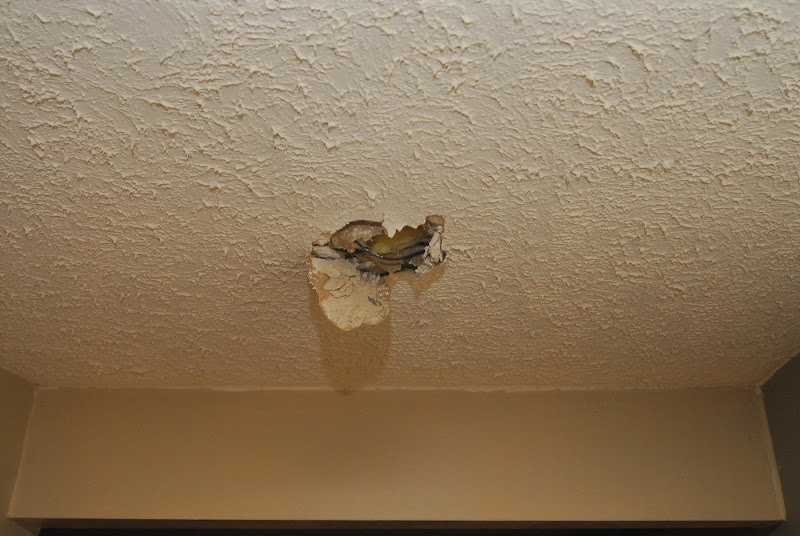
Today was quite a day. In order to get the shower area ready for a new shower pan, we needed to move some of the currently placed PVC pipes that are currently in the way. This involves moving multiple pipes, Vent Stacks, and removing the currently placed Shower copper tubing. The PVC came out just fine, and other than trying to model all the new pipes in my head to make the trip to Sears, was pretty straight forward. So far the biggest hiccup has been the fact that we punched a hole in the ceiling of the foyer with the trap. The hole now looks like this...
 |
| From Bathroom Demolition |
Bathroom Demolition Begun!
So LT and I decided that it would be better to renovate the bathroom ourselves. We have started pulling things apart and looking to see what would need to happen after having quotes from GC's ranging from $5000 to $40,000.
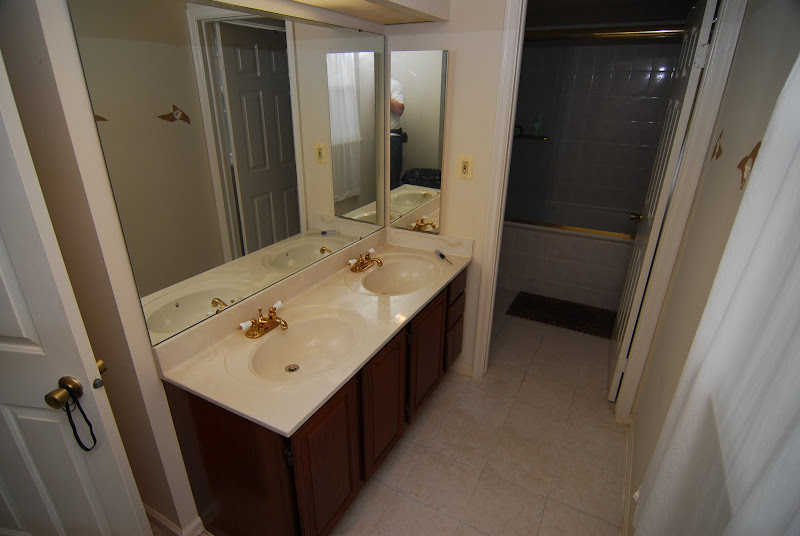
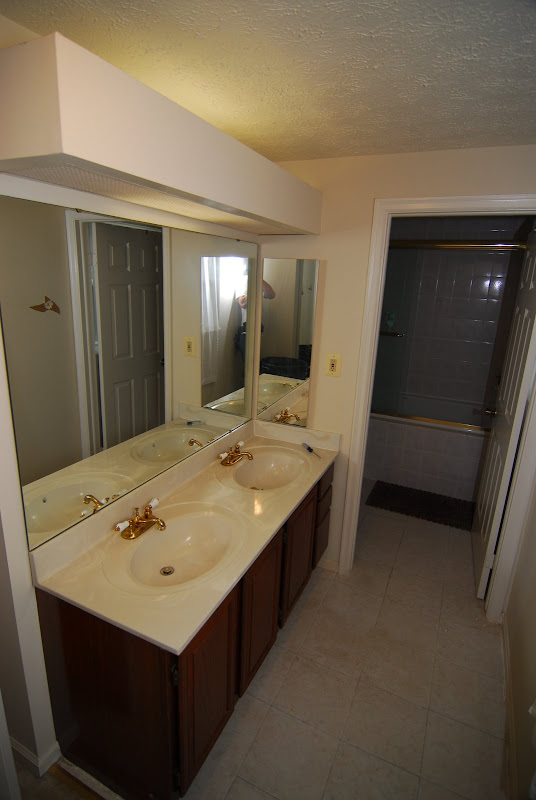
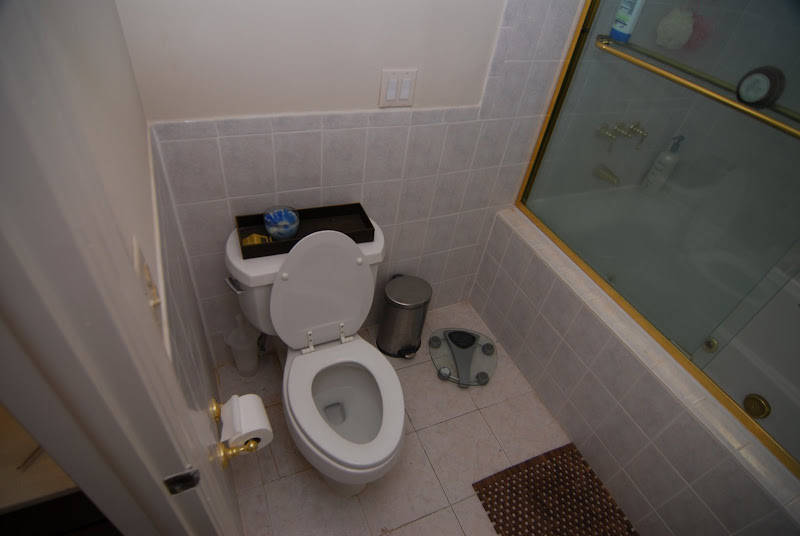
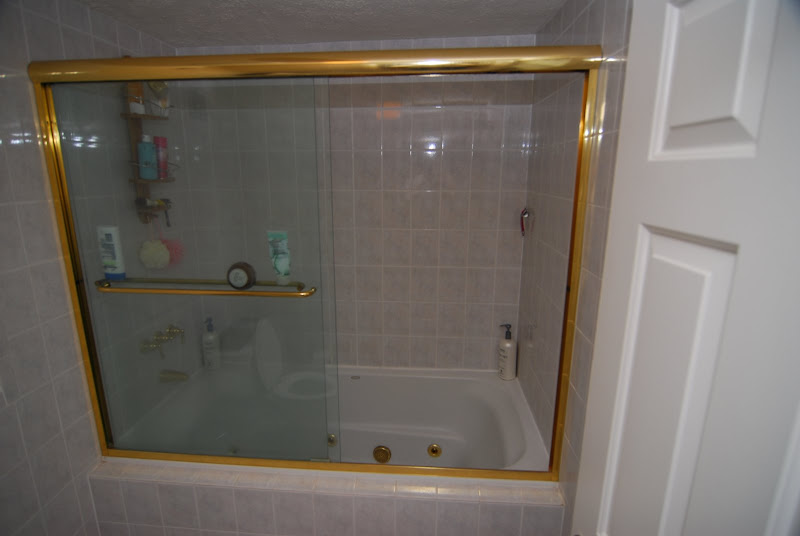
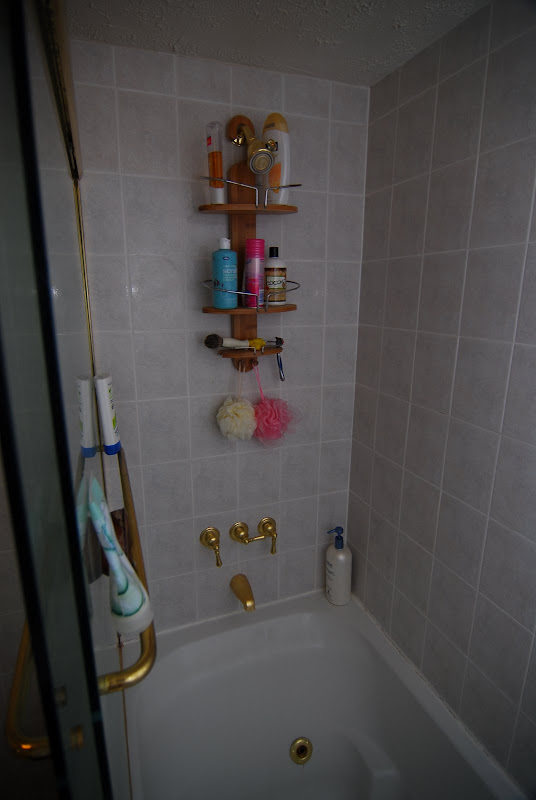
We started off looking like this...
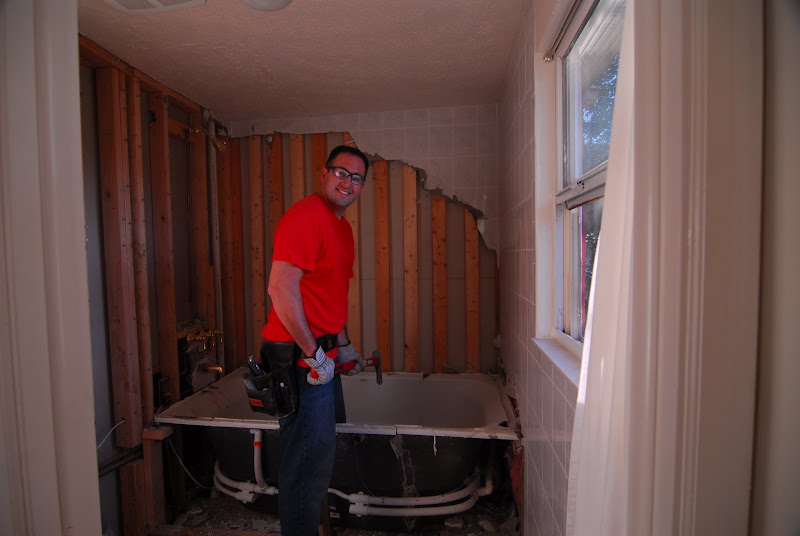
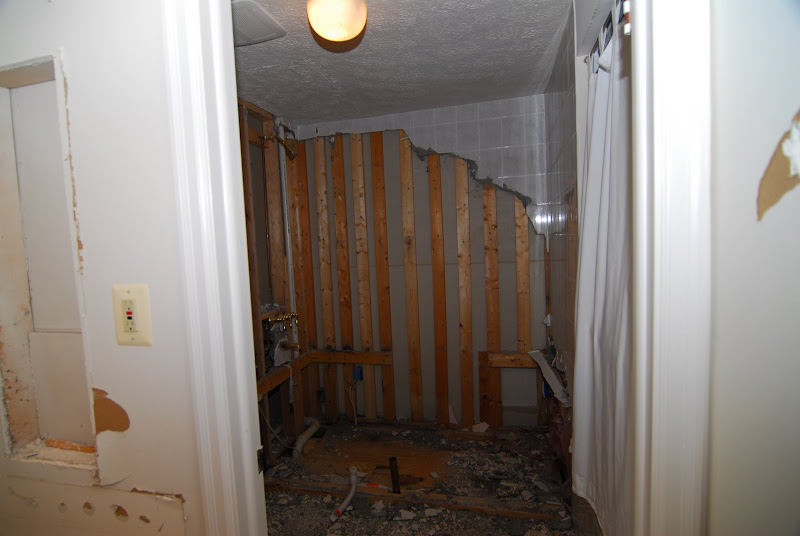
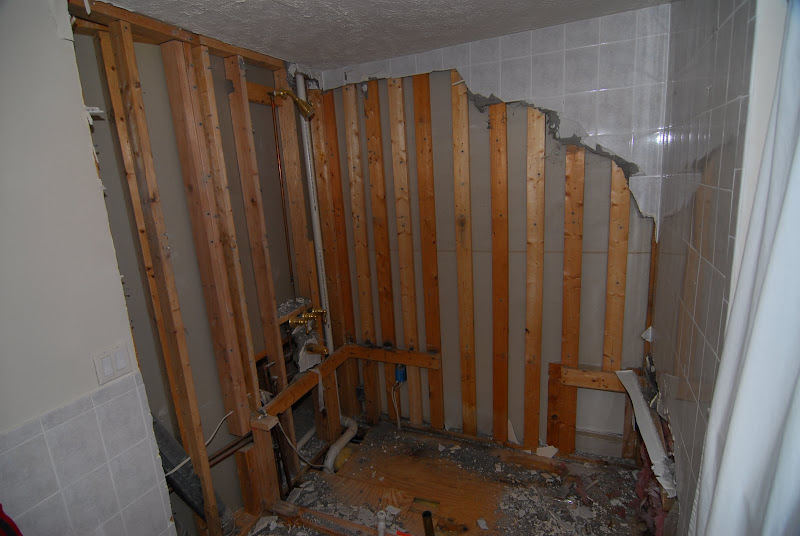
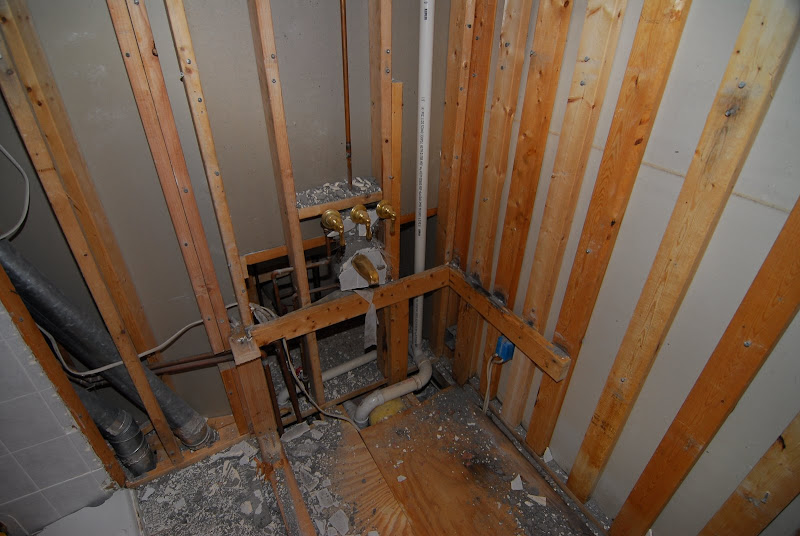
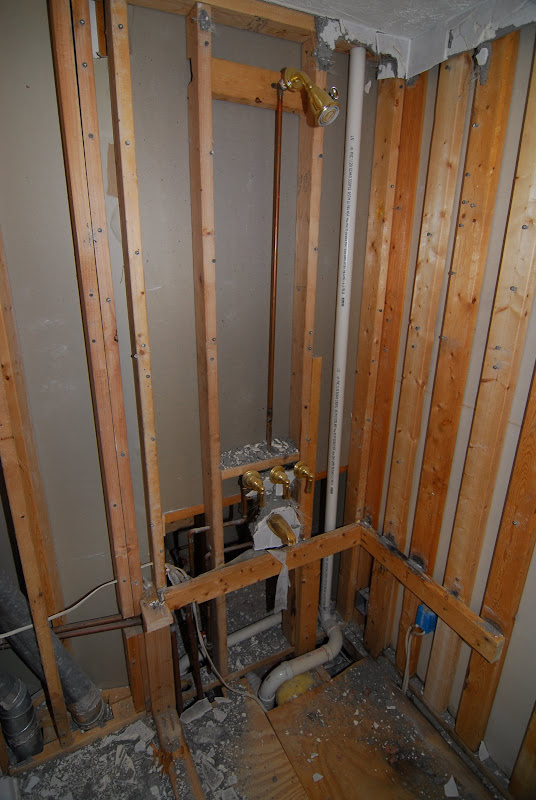
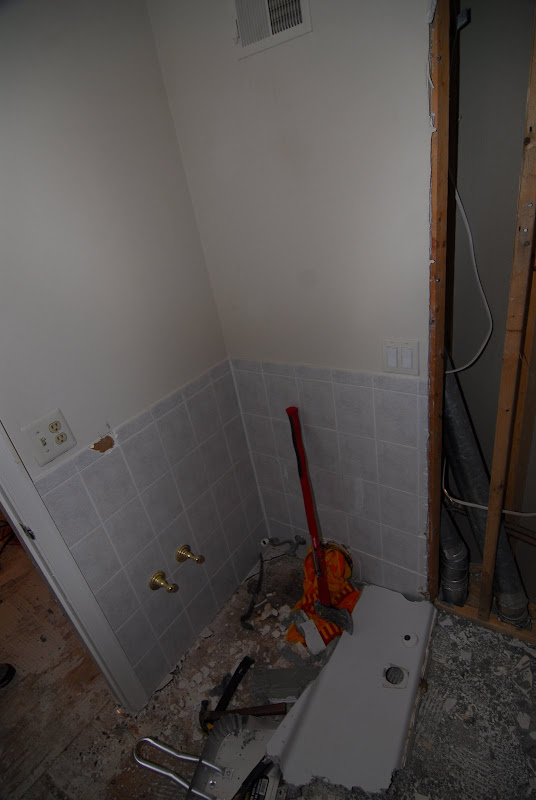
Now things are starting to look like this...
So far the trips to home depot, lowes, and sears total three trips, and only an axe, saws-all, Wet Dry Vac
We started off looking like this...
 |
| From Bathroom Demolition |
 |
| From Bathroom Demolition |
 |
| From Bathroom Demolition |
 |
| From Bathroom Demolition |
 |
| From Bathroom Demolition |
Now things are starting to look like this...
 |
| From Bathroom Demolition |
 |
| From Bathroom Demolition |
 |
| From Bathroom Demolition |
 |
| From Bathroom Demolition |
 |
| From Bathroom Demolition |
 |
| From Bathroom Demolition |
So far the trips to home depot, lowes, and sears total three trips, and only an axe, saws-all, Wet Dry Vac